
Introduction
A garage door is more than an entryway. It’s a critical aspect of your property’s security, energy efficiency, and curb appeal. If you’re considering a garage door installation in Palm Desert CA, understanding the timeline of the process can help you plan and prepare effectively. This step-by-step guide breaks down the stages of an installation project so you know what to expect from start to finish.
1. Initial Consultation and Measurement
The first step in the installation process is an initial consultation with garage door professionals. During this stage, technicians visit your home to evaluate the space, take precise measurements, and discuss your preferences. Whether you’re seeking a modern design or enhanced insulation, this meeting ensures your new door fits seamlessly. A detailed quote is also provided at this stage, helping you finalize your budget.
2. Design and Material Selection
Once measurements are complete, the next step is choosing the appropriate materials and design for your garage door. From traditional wooden finishes to sleek steel and aluminum options, there’s a wide range of styles to pick from. If you’re opting for a garage door replacement in Cahuilla Hills CA, make sure to factor in materials that suit your local climate and aesthetic preferences. Once your choices are finalized, the manufacturing process begins, which typically takes 1–4 weeks.
3. Removing the Old Garage Door
On installation day, technicians start by carefully removing your old garage door. This process involves detaching the existing door, tracks, and opener system. If this is a replacement project, technicians inspect the framework to ensure it’s in good condition, making repairs if necessary. This ensures your new door has a solid foundation for its long-term performance.
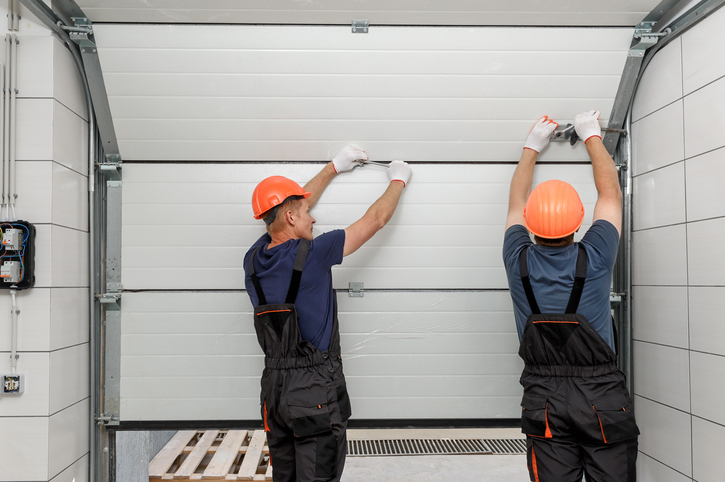
4. Installing the New Garage Door and Components
With the old door removed, it’s time to install the new garage door. This includes attaching the tracks, hardware, and panels with precision. Once the door is securely in place, the team turns its focus to installing the opener system and testing its functionality. An experienced technician will ensure the door operates smoothly, aligns correctly, and meets safety standards. This phase typically takes a few hours, depending on the door’s complexity.
5. Final Testing and Cleanup
After installation, the team conducts final inspections to confirm everything is working seamlessly. This includes testing the opener’s remote, checking the door’s balance, and ensuring all safety features are functioning properly. Once the technicians are confident in the installation, they tidy up, leaving your garage clean and ready to use. Congratulations—you now have a fully functioning garage door that boosts your home’s efficiency and appeal!
Understanding the timeline of the installation project can make the process stress-free and efficient. From consultation through final testing, each step is vital to ensuring a high-quality result.
Conclusion
If you’re ready to take the next step, contact our team at Door Pros at 760-325-3667 and experience world-class service tailored to your needs.